|
|
| Line 1: |
Line 1: |
| − |
| |
| | {{#widget:YouTube|id=hrVkkJAPnf0|height=200|width=300}} | | {{#widget:YouTube|id=hrVkkJAPnf0|height=200|width=300}} |
| | | | |
| Line 18: |
Line 17: |
| | <br/> | | <br/> |
| | <div style="clear: both"></div> | | <div style="clear: both"></div> |
| − | 3. The headline appears underlined and in a predefined height. | + | 3. The heading appears underlined and in a predefined height. |
| | | | |
| | [[File:Headline 2.JPG|border|left|600px|add headings|alt=add headings]] | | [[File:Headline 2.JPG|border|left|600px|add headings|alt=add headings]] |
Revision as of 12:50, 4 February 2016
Creating Headings
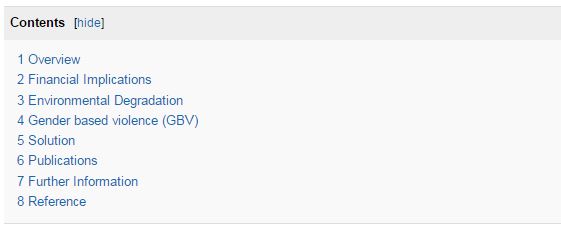
An Article can and should be divided into different sections/headings to break the text and organize the content. If a page has more than three section, a "table of content (TOC)" is automatically generated. To add headings:
1. Highlight the words to create a heading.
2. Click on the option "Paragraph Format" in the toolbar and choose the desired heading format.Headings follow a six-level hierarchy format with heading 1 the largest and heading 6 the smallest
3. The heading appears underlined and in a predefined height.
4. If there are more than three headings, a table of content is automatically generated.

Advanced:
- If you want to force the table of content to be always shown regardless of the number of headings, you can put the magic keyword "__FORCETOC_" anywhere on the page and a Table of content will always be shown.
- Conversely, the magic keyword "__NOTOC_" will suppress the "Contents" if placed anywhere within the page.
To put both the magic keywords, switch to " Show Wiki Text Editor" Option.